Bathrooms
Why Curbless Showers Fail, and What Fixes Them
Curbless showers leak when the slope, the pan and the door swing get decided separately. The fix happens during framing, months before tile.
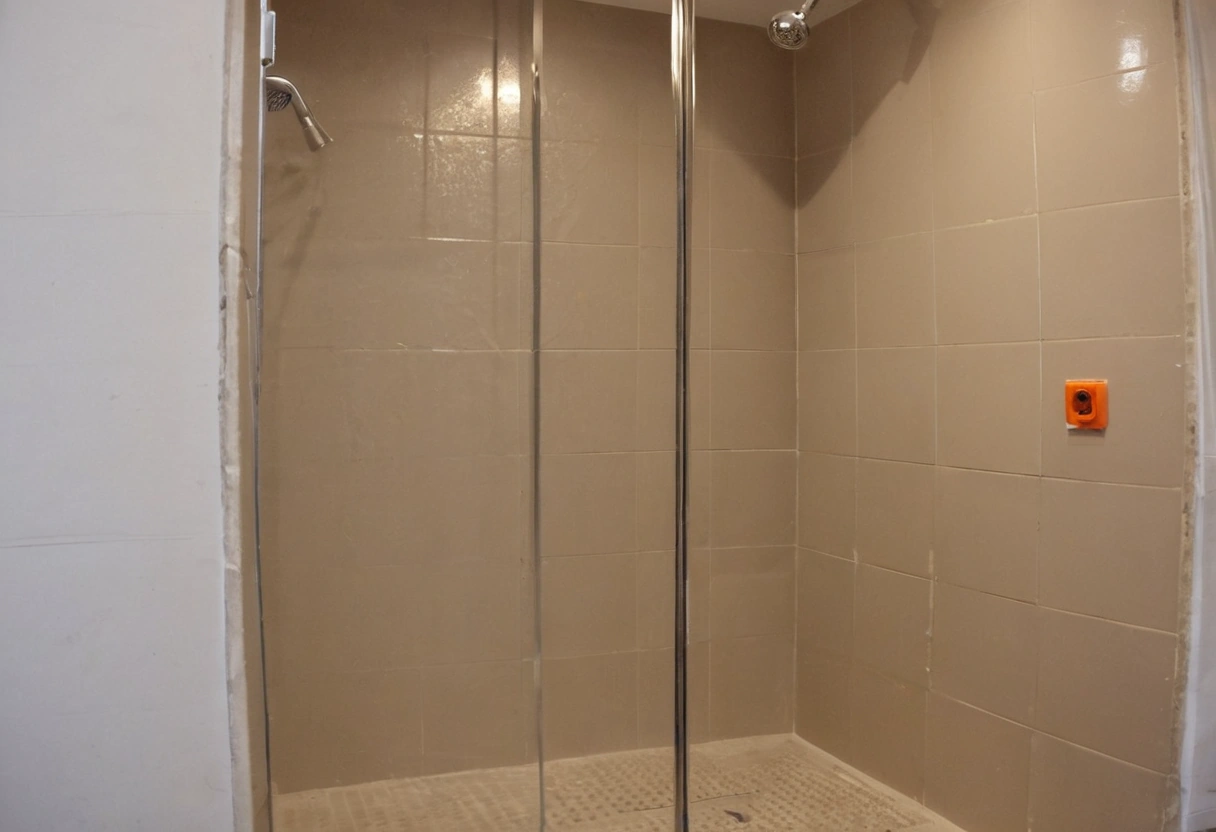
Curbless showers leak when the floor slope, the waterproofing layer and the door swing get decided by three different trades at three different times. A curbless shower works when the framing crew drops the floor structure before subfloor goes down, the waterproofing turns up the walls past the wet zone, and the drain type matches the slope the tile can hold.
The failure is almost never the tile. By the time water shows up on the hallway side of the wall, the decision that caused it happened months earlier, during framing.
Why does a curbless shower need a recessed floor?
Water needs somewhere to fall. A shower with a curb uses the curb to hold water inside while the pan slopes to the drain. A curbless shower removes that dam, so the slope has to start below the level of the surrounding floor. That means the floor joists under the shower get dropped, or sistered and notched, before the subfloor is installed.
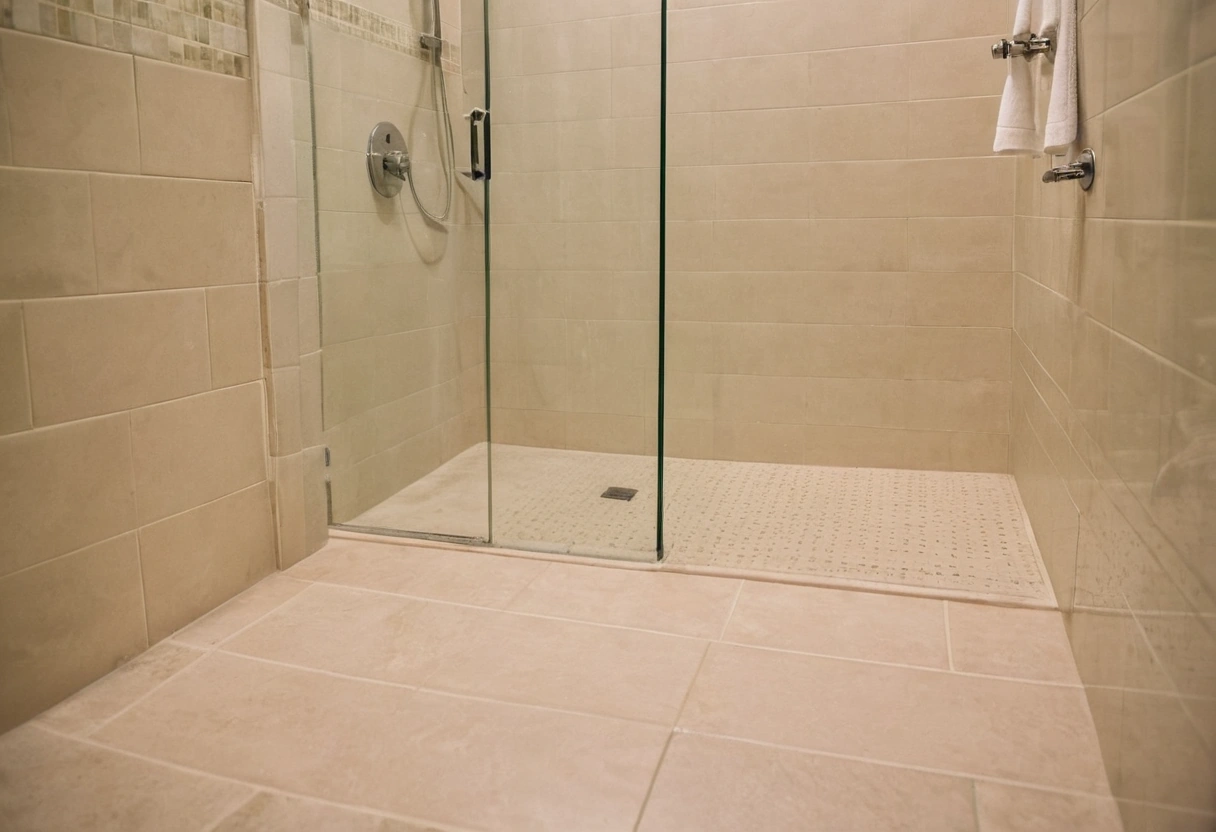
Standard practice slopes a shower floor at 1/4 inch per foot toward the drain. Across a 48 inch shower with a center drain, that is 1/2 inch of fall from the wall to the drain. Across the same shower with a linear drain at the far wall, the fall is a full inch over 48 inches. Both numbers have to fit inside a recess that was framed before anyone thought about tile.
By the time water shows up in the hallway, the decision that caused it happened during framing.
Center drain or linear drain?
A center drain slopes from four directions and needs tile small enough to follow a compound slope, which usually means mosaic tile at 2 inches or smaller. A linear drain slopes in one direction only, which allows large-format tile to run through the shower and out into the room. Large-format tile plus a center drain is the combination that cracks.
| Drain type | Slope directions | Tile that works |
|---|---|---|
| Center point drain | Four | Mosaic up to about 2 in |
| Linear drain at wall | One | Large format, including 24 by 48 in |
| Linear drain at entry | One, toward the room side | Large format, keeps water off the threshold |
| Trench around perimeter | One to center | Large format, higher cost |
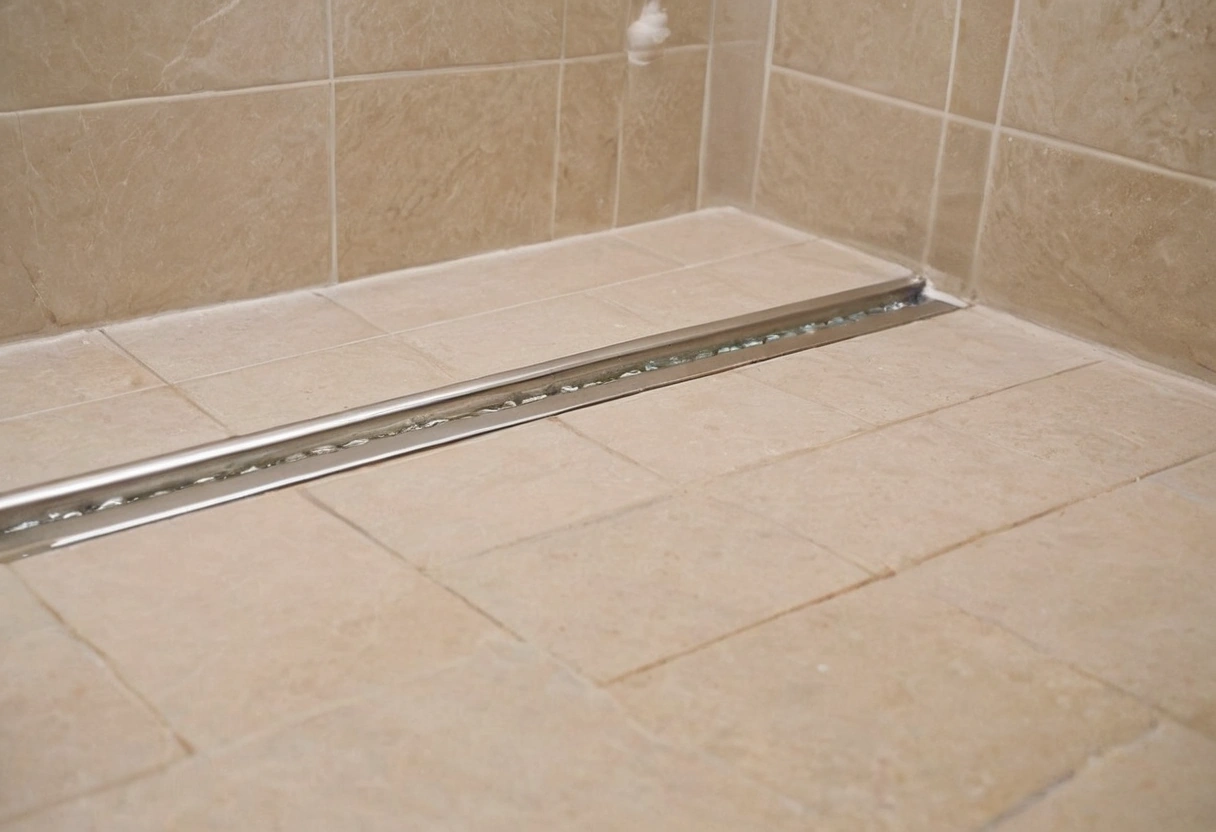
A linear drain placed at the entry side has a second benefit worth the upcharge in a curbless installation. Water traveling toward the room hits the drain before it reaches the open threshold.
Where does waterproofing actually have to go?
Waterproofing has to extend past the wet zone in every direction, not just inside the tiled shower. In a curbless installation, water travels along the floor plane, so the membrane turns out into the bathroom floor by at least 12 inches beyond the opening, and it turns up the walls at least 6 inches above the floor line outside the shower.
Two details cause most curbless failures at this stage. First, the membrane gets terminated at the shower opening because that is where the tile stops, which leaves the subfloor under the threshold unprotected. Second, the drain flange and the membrane get connected with the wrong bonding method, and the joint at the drain is where water concentrates.
How does the door affect a curbless shower?
A hinged glass door needs a stop, and a curbless shower has no curb to stop against. Frameless doors in curbless showers usually swing outward and drip on the bathroom floor, which is acceptable when the floor drains toward the linear drain and unacceptable when it drains toward the hallway.
The alternative is no door at all. A walk-in configuration with a fixed glass panel and a wet zone deep enough to contain spray removes the drip problem entirely. That configuration needs roughly 60 inches of depth, which is why it shows up in a family bathroom planned around simultaneous users from showerhead wall to opening, which is why walk-in curbless showers appear in larger bathrooms.
What does a curbless shower cost compared with a standard pan?
The tile and glass cost about the same. The added cost sits in framing modification, the linear drain assembly, additional waterproofing area and the labor to coordinate three trades in sequence. In a remodel where the floor structure has to be opened, that coordination is the expensive part.
The case for spending it is durability of use rather than looks. A curbless shower has no threshold to trip on, accepts a shower chair or a walker, and stays usable if a household member breaks an ankle or ages in place. Those are the reasons that survive a resale conversation.
The sequence that prevents leaks
- Decide curbless before framing, and give the framer the recess depth in writing.
- Choose the drain type before the tile, since the drain decides which tile sizes are possible.
- Specify the waterproofing system by manufacturer and require its own drain flange, not a mixed assembly.
- Extend the membrane 12 inches past the opening and 6 inches up the adjacent walls.
- Flood test the pan for 24 hours before any tile goes down, and photograph the test for the rough-in inspection.
The flood test is the step that gets skipped when a schedule slips. It is also the only step that proves the assembly holds water before it gets buried under tile.